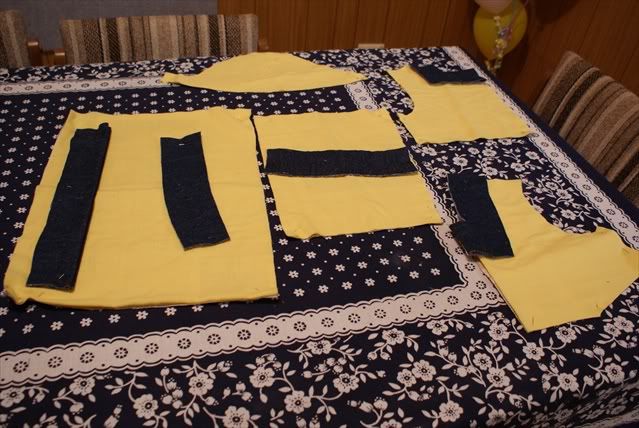
[caption id="" align="alignnone" width="639" caption="I've cut out my material using my pattern and laid them out."]
 [/caption]
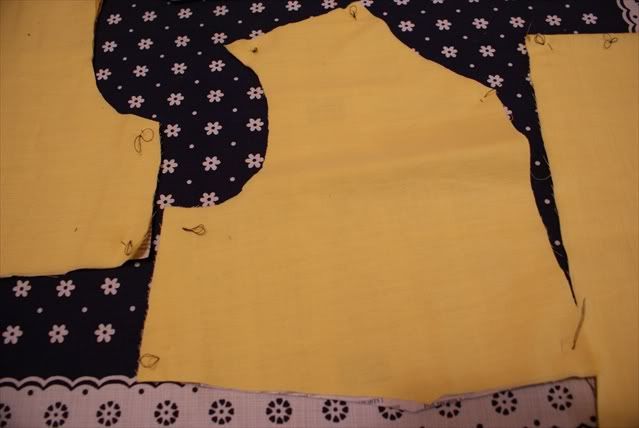
[caption id="" align="alignnone" width="639" caption="Here I've used tailor's tacks to mark all the important points."]
 [/caption]
I've only recently discovered tailor's tacks-and I loved them! (For those new to sewing, tailor's tacks is a method of marking fabric using double unknotted thread, which is pushed through and back again through the fabric at a marking point, leaving a loop and a tail at opposite sides of the fabric. You then separate the fabric layers which have been tacked, and gently cut the tacking thread in between the fabric layers. This leaves a tail of thread on two or more layers of fabric, at the exact same spot.) I've read about them before, but was too lazy to implement it-however, I've tried it with my last two projects, taking pains to mark all the points where seams are supposed to join, the centre mark of a pattern, the darts, points where the facing is supposed to join the main garment pieces etc-and I've discovered that the time you save not fiddling around in the middle of your sewing time looking for that centre mark or wondering whether the seamlines join exactly on that spot or not is very significant. I just about whizzed through the making of that top because all the points where tacked and I knew immediately where to join it to.
At this point, I serged all the edges of the garment pieces except for the armhole, and sewed the dart on the back and front pieces. I normally make it a point to join all the pieces that make up the whoe front panel, before I do the back panel, leaving out the sleeves. And only then do I join the front panel to the back panel.
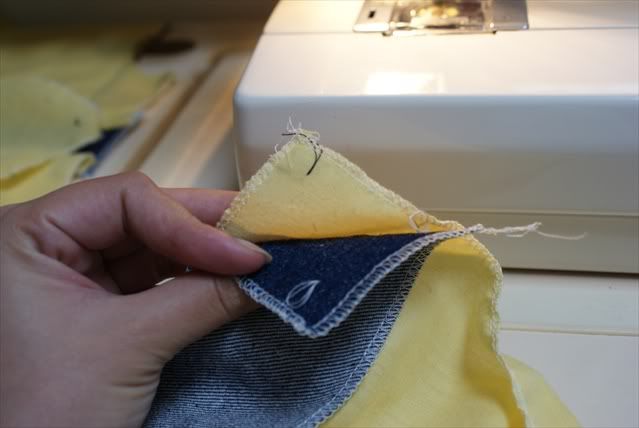
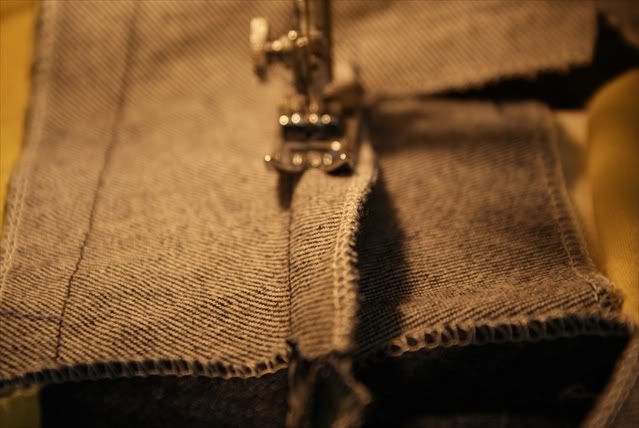
Here, I am joining the front belt piece to the front top piece, matching tailor's tacks.
[caption id="" align="alignnone" width="639" caption="Joining tailor tack on the front belt piece to the tailor tack on the front top piece"]
 [/caption]
[caption id="" align="alignnone" width="639" caption="This is what the front top looks like."]
 [/caption]
Next, I prepare to make gathers on the bottom front panel piece.
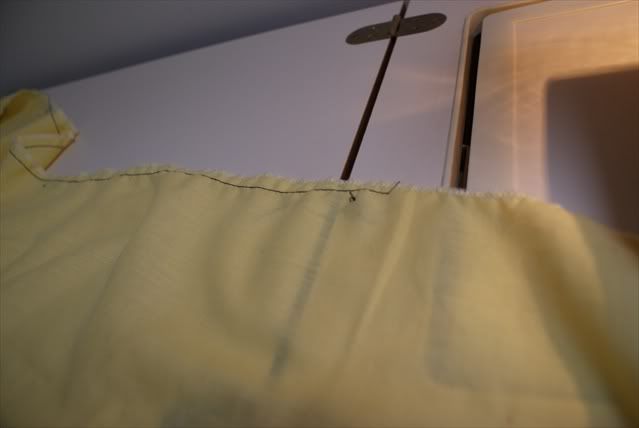
[caption id="" align="alignnone" width="639" caption="Running a long tacking stitch along the bottom front panel for gathering."]
 [/caption]
[caption id="" align="alignnone" width="639" caption="Making my gathers."]
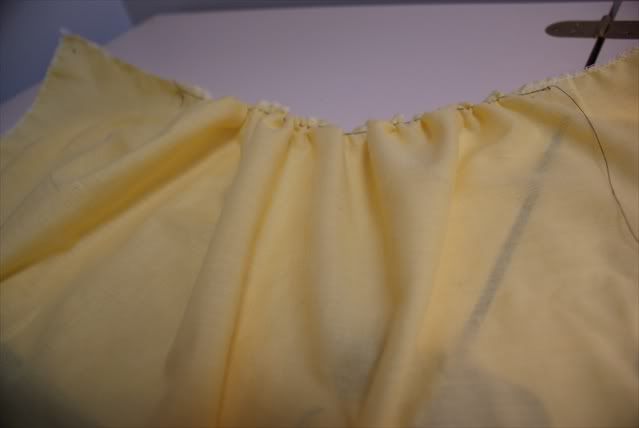 [/caption]
I wanted the gathers to start and stop between the two dart lines, and had marked the spots where they start with tailor's tacks to make it easier. You can see above that the gathers are only at the tummy area, and not on the sides.
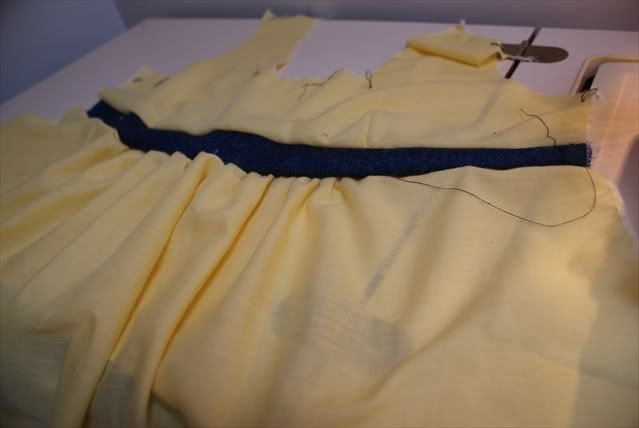
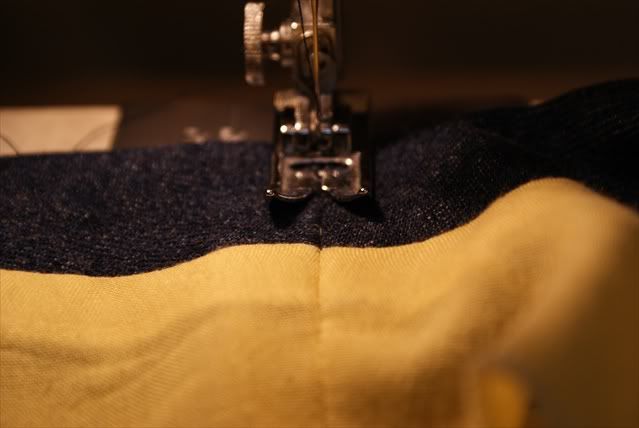
[caption id="" align="alignnone" width="639" caption="Joining the bottom gathered panel to the top."]
 [/caption]
[caption id="" align="alignnone" width="639" caption="This is what it looks like on the back."]
 [/caption]
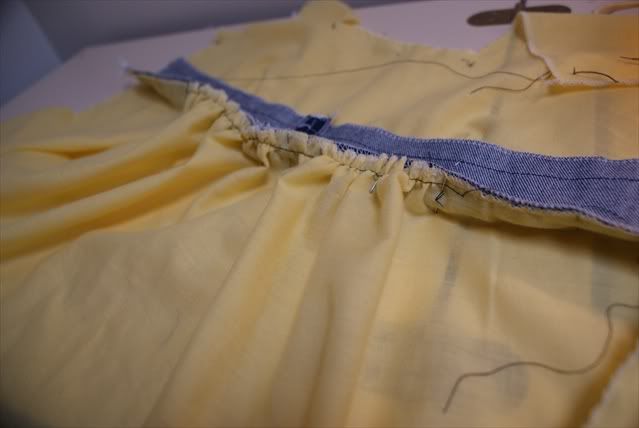
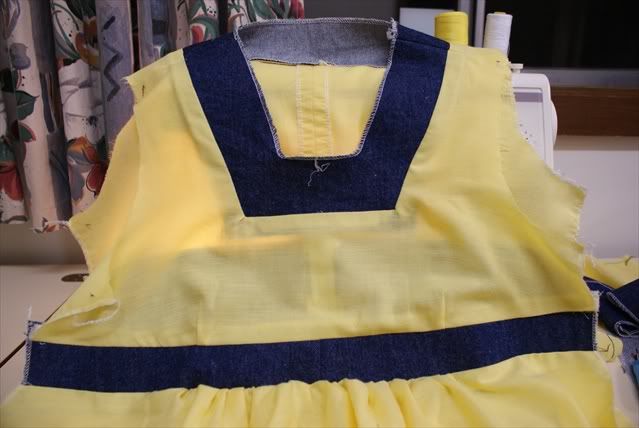
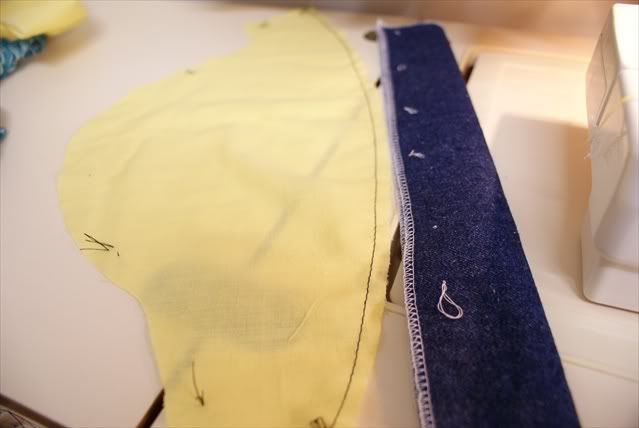
Next came the denim neckband. This was a little challenging. Again, thanks to the work I put in with the tailor's tacks, doing this became so much easier because I could match the dots on the yellow fabric to the denim without much trouble. I had to clip and notch the inner square corners in the neckline of the yellow fabric to ease in the denim band onto it.
[caption id="" align="alignnone" width="639" caption="Joining the neck band to the front panel."]
 [/caption]
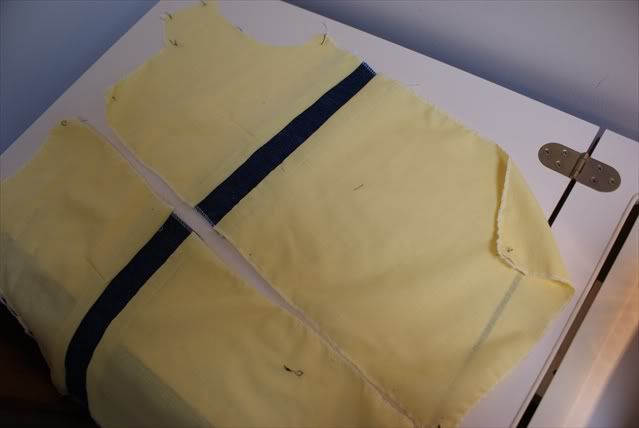
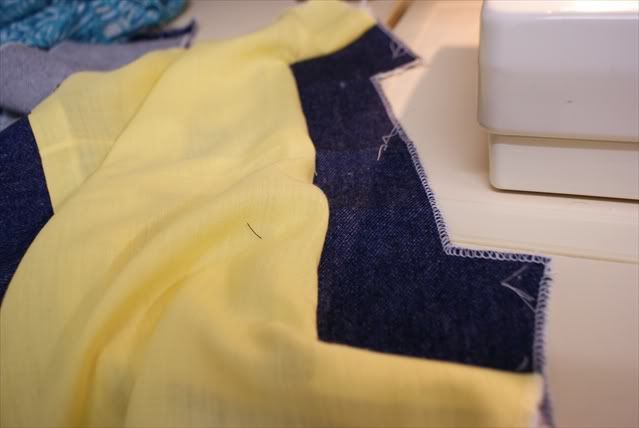
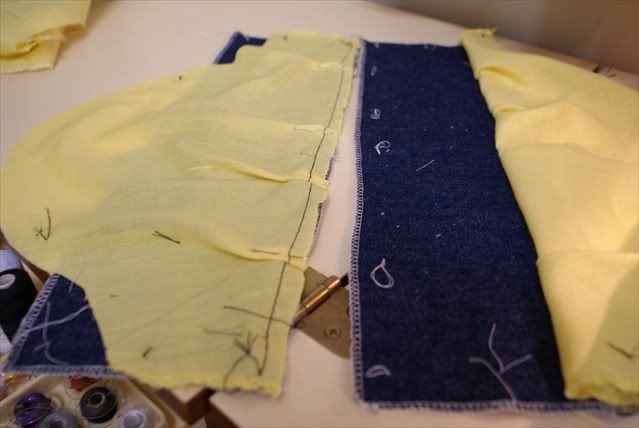
Thats all the front panel done. Now I went on to do the back panel.
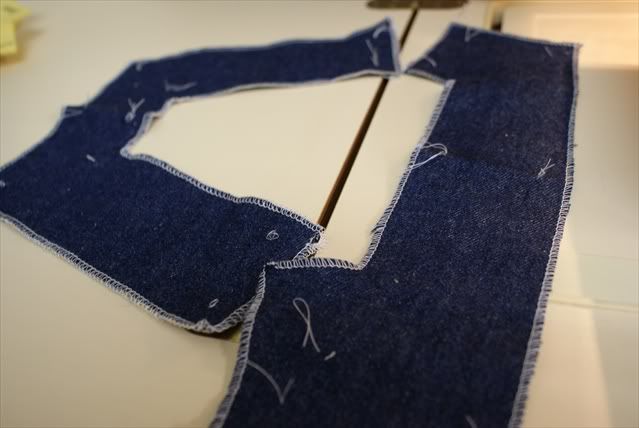
[caption id="" align="alignnone" width="639" caption="This is what the back panels look like. "]
 [/caption]
I cut the back panels with a centre back seam, but with a one-piece neckline, planning to put in a zipper at the lower half of the back.
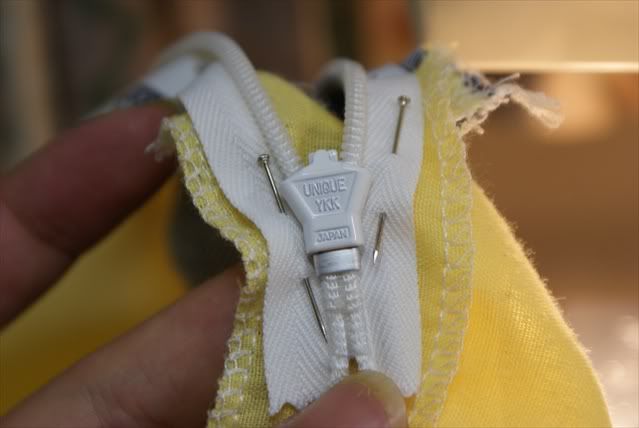
The zipper I planned to use was an invisible zipper I picked up for 50cents from an op shop. I didn't realize that it was made by YKK, the same company that supplies zippers to Coach-the best.
[caption id="" align="alignnone" width="639" caption="YKK zipper"]
 [/caption]
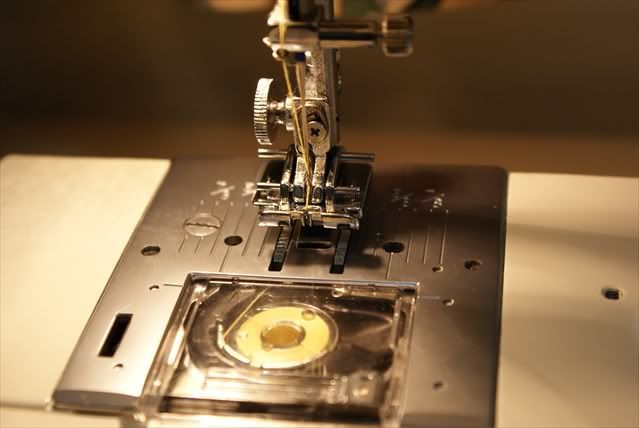
I've inserted invisble zippers before-but never successfully, because I didn't realize till later that I needed an invisible zipper foot. So I went and got one last weekend.
[caption id="" align="alignnone" width="639" caption="My new invisible zipper foot."]
 [/caption]
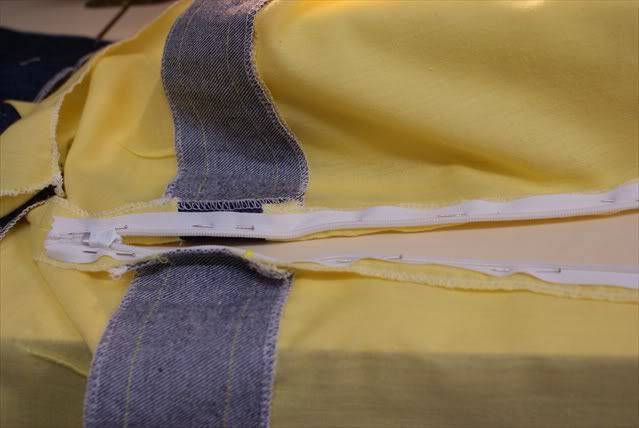
I sewed the centre back seam with a regulation stitch length till about 1/3 the length of the back, and used a long running stitch for the rest of the seam. I pressed that seam open to in order to establish the seam line folds. I removed that running stich, and then pin-basted my zipper onto the the folds of the seamline.
[caption id="" align="alignnone" width="639" caption="Inserting an invisible zip"]
 [/caption]
I sewed the zipper in with my invisble foot, and was very impressed with the way the zipper just disappeared into the seam. However, after all that work, I realised later that the top was roomy enough to pull my head through without a zipper, so I ripped it out for another project, and just sewing the back centre seam shut.
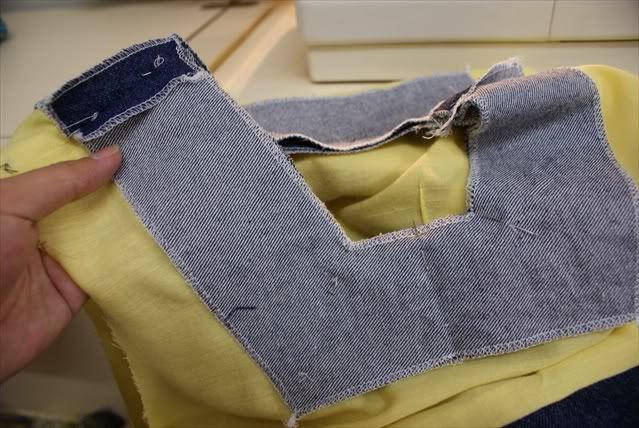
Next, I joined the back neckband to the centre panel-again, matching the tailor tacks.
[caption id="" align="alignnone" width="639" caption="Joining the back neckband to the back panel."]
 [/caption]
Here, I joined the front and back panel pieces at the shoulder seams.
[caption id="" align="alignnone" width="639" caption="The front and back panel pieces joined at the shoulder seams."]
 [/caption]
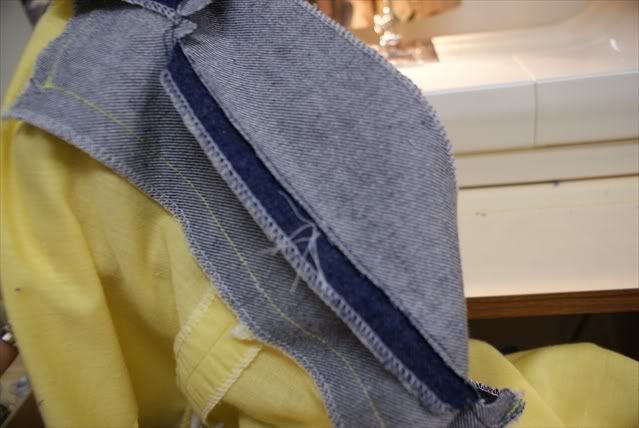
The next step was to prepare the facings. I joined the front and back neck facings, matching the tacks.
[caption id="" align="alignnone" width="639" caption="Joining the front and back neck facing"]
 [/caption]
[caption id="" align="alignnone" width="639" caption="Right sides together, joining the facings to the main garment pieces at the neckline."]
 [/caption]
Because there were two layers of denim, the neckline was very bulky. I proceeded to grade the seam allowances within the neckline. Grading is a technique of trimming down a seam allowance to a smaller width in order to reduce bulk, especially in facings and collars. I've also clipped and notched the inner square corners of the denim neckband to release the excess fabric. This allows it to be turned right side out without bunching up.
[caption id="" align="alignnone" width="639" caption="Grading the seam allowances. Here you can see the smaller width of the seam allowance which has been trimmed/graded down."]
 [/caption]
So help the neckline seam allowance to stay under the facing neatly, instead of rolling over, I understitched the facing to the seam allowance.
[caption id="" align="alignnone" width="639" caption="Understitching the neckline facing to the seam allowance below."]
 [/caption]
However, neckline facings have a way of misbehaving, in that they are prone to turning up on the right side of the garment instead of staying down. In order to anchor it, I used a stitch-in-the-ditch technique on the neckband-meaning to sew in between seamlines of two pieces of fabric stretched in opposite directions.
[caption id="" align="alignnone" width="639" caption="Stitching in the ditch. Here, I'm stitchin in between the seam lines of the neckband, catching the facing underneath. This anchors the facing into position."]
 [/caption]
That's the front and back panels joined and done. Now for the sleeves.
[caption id="" align="alignnone" width="639" caption="My sleeve pieces."]
 [/caption]
Note the tacks on the sleeve cap-2 tacks means the back of the sleeve, 1 tack means the front of the sleeve. It is very important never to mix the two up-or you'll get a sleeve that doesn't sit properly, or doesn't give you enough movement. Also, I've tacked spots on the denim cuffs where I'll insert pleats into the yellow fabric.
[caption id="" align="alignnone" width="639" caption="Making pleats in my sleeve."]
 [/caption]
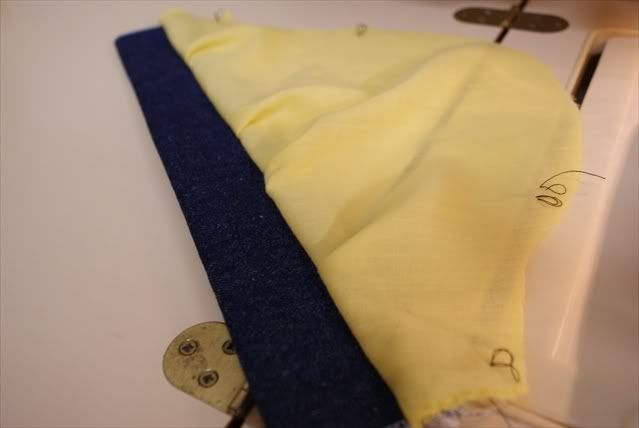
I joined the yellow cotton and the denim rights sides together, and turned the denim cuff under and sewed it together.
[caption id="" align="alignnone" width="639" caption="Tadaa!!"]
 [/caption]
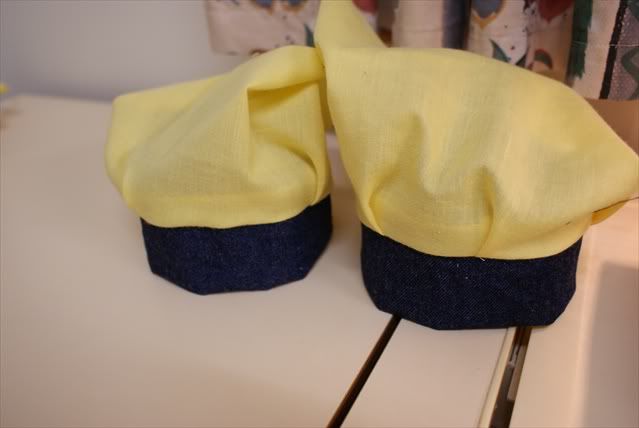
[caption id="" align="alignnone" width="639" caption="My two finished sleeves. They look like best friends!"]
 [/caption]
I showed them to the Wyld Man-he thought they were mini caps!
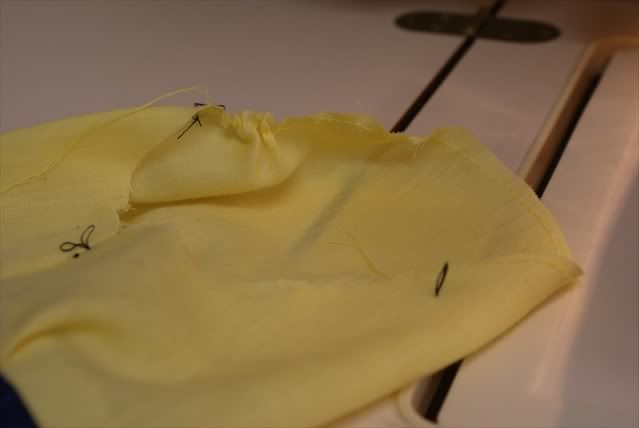
The typical sleeve cap is always 1-2cm longer than the length of the armhole. This is to allow room for the outward curve of the shoulder. However, in order to join the sleeve to the armhole, that 1-2 cm excess fabric has to be EASED into the armhole WITHOUT puckers. To do that, I make a long running stitch inside the seam allowance of the sleeve cap (between the 2 tailor tacks), and make a slight gather.
[caption id="" align="alignnone" width="639" caption="Ease stitching the sleeve cap."]
 [/caption]
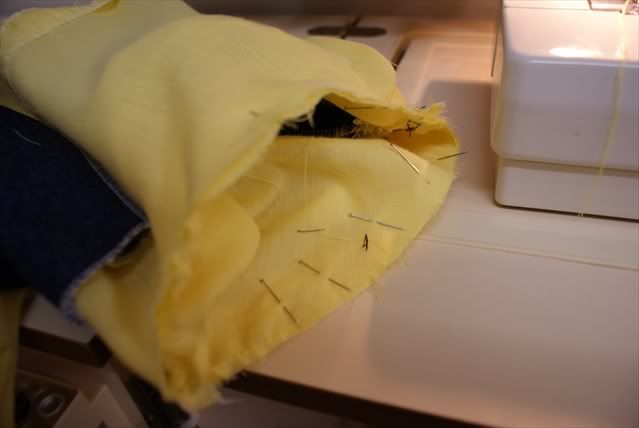
Then, right sides together, I pin baste the sleeve to the armhole.
[caption id="" align="alignnone" width="639" caption="Pin basting the sleeve to the armhole. The more pins, the better, the less puckers."]
 [/caption]
Always sew onto the sleeve side, not on the side of the main garment. Although the position of the needle on the main garment is easier, you are more prone to getting puckers if the sleeve is downmost layer on the needle plate.
I do this for both sleeves, and that finishes the garment. Except for the hem.
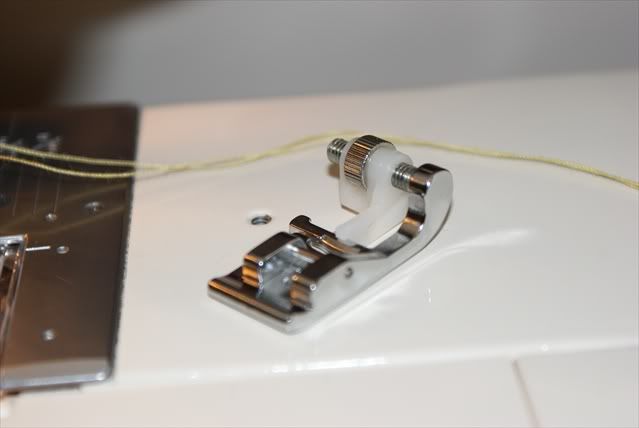
For the hem, I use my newly discovered adjustable blind hem foot which had lived in my Janome MyStyle 20 all this time, but had never mad an appearance because I only figured out last weekend what it was for!
[caption id="" align="alignnone" width="639" caption="Adjustable Blind Hem Foot"]
 [/caption]
I love this little foot! It's a lot better than the regular blind hem foot which has a set width for blind hems. This one however has a screw which adjusts to whatever width you want, making it perfect for topstitching, or close-precision-edgestithing. And I did one of the best blind hems I've ever done with this little foot.
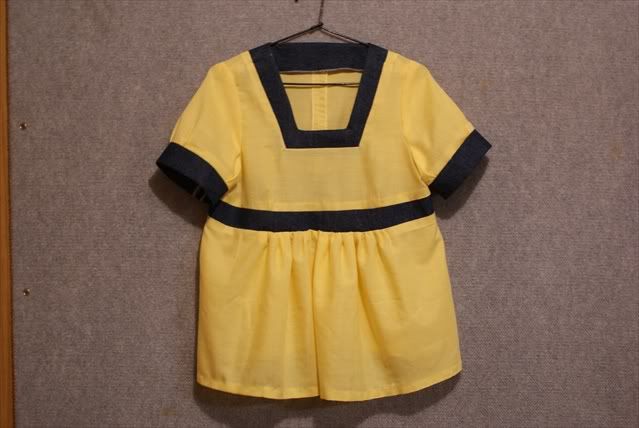
And with that done, and with my top pressed, this is what it looks like now.
[caption id="" align="alignnone" width="639" caption="Front"]
 [/caption]
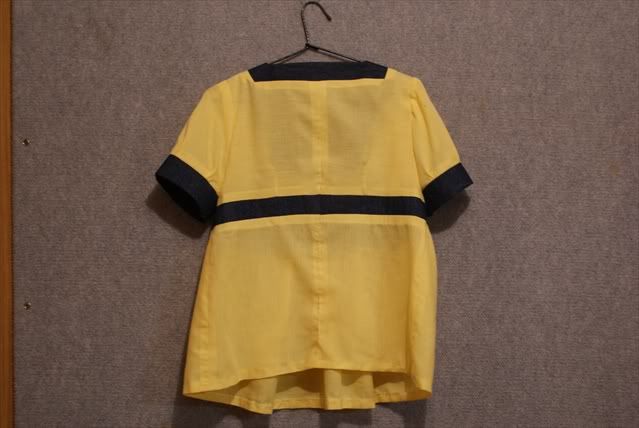
[caption id="" align="alignnone" width="639" caption="Back"]
 [/caption]
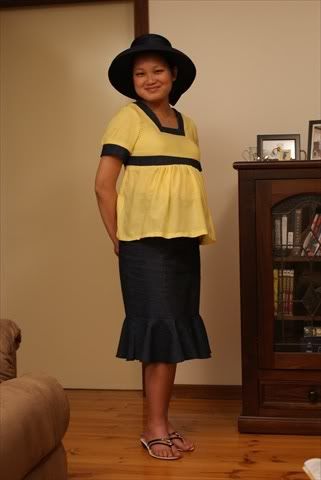
[caption id="" align="alignnone" width="321" caption="My maternity outfit!"]
 [/caption]
No comments:
Post a Comment
I love hearing from you! Please leave your comments here: