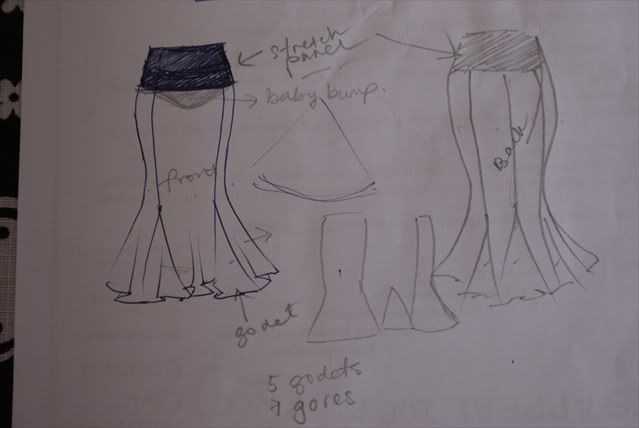
[caption id="" align="alignnone" width="639" caption="This was what I wanted it to look like."]
 [/caption]
It would have a stretch waistband with a maternity panel in from to accomodate my belly. No closures.
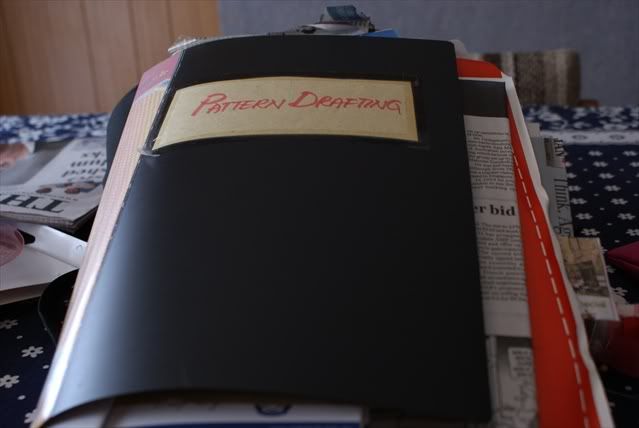
[caption id="" align="alignnone" width="639" caption="I got out my file with all my drafted blocks and patterns."]
 [/caption]
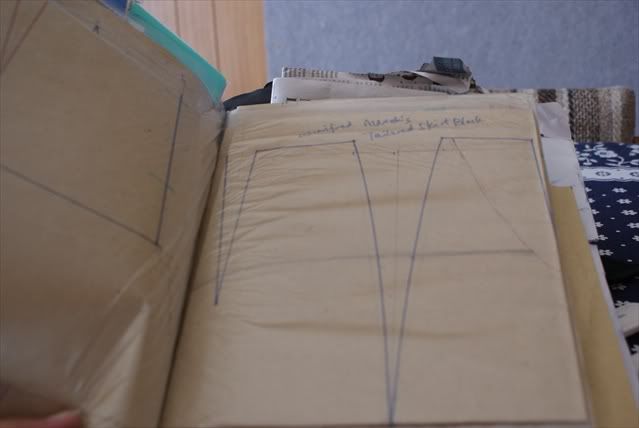
[caption id="" align="alignnone" width="639" caption="My skirt block drafted from Winifred Aldrich's Pattern Cutting for Women's Wear"]
 [/caption]
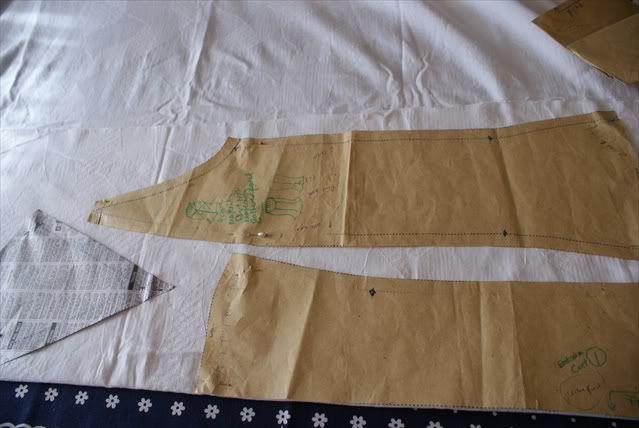
[caption id="" align="alignnone" width="639" caption="Laying the skirt block out."]
 [/caption]
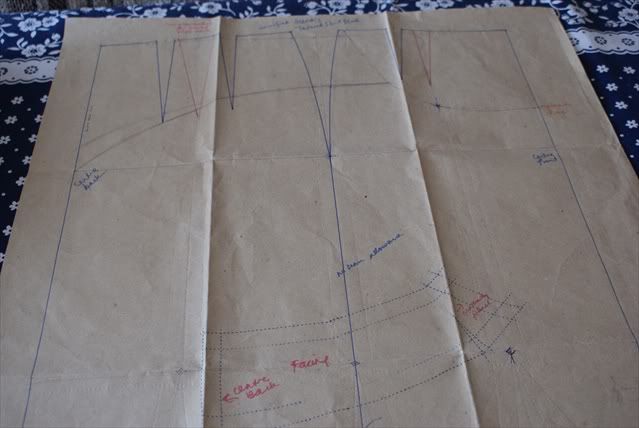
[caption id="" align="alignnone" width="639" caption="I've drawn a maternity line-the curved line follows the baby bump all around. Everything else will fit as per pre pregnancy."]
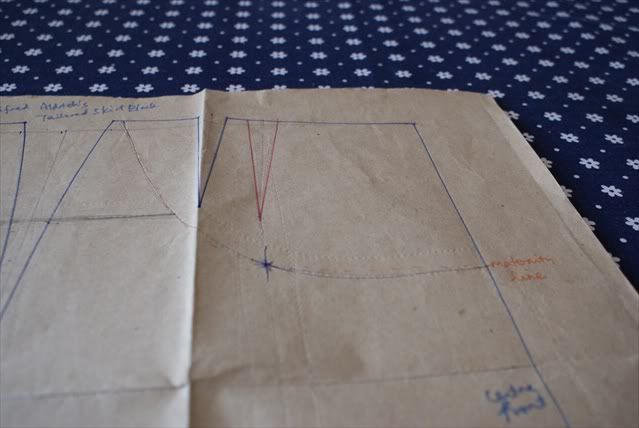 [/caption]
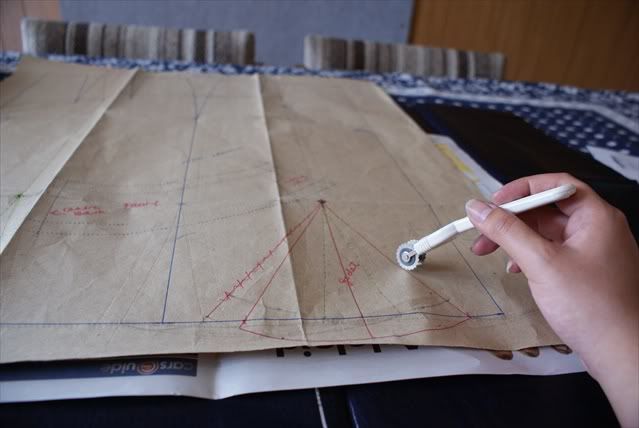
[caption id="" align="alignnone" width="639" caption="I draw out the stylelines for my skirt. You can see the godet I drew in between one of the gore panels."]
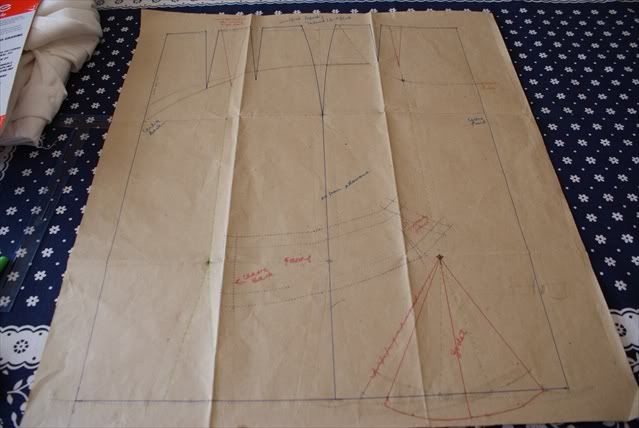 [/caption]
I already have a pattern for a 7 gored and flared skirt from a few months before, so I only needed to draft the godet. I made it 6inches long, and 3 inches wide on each side of the red middle line.
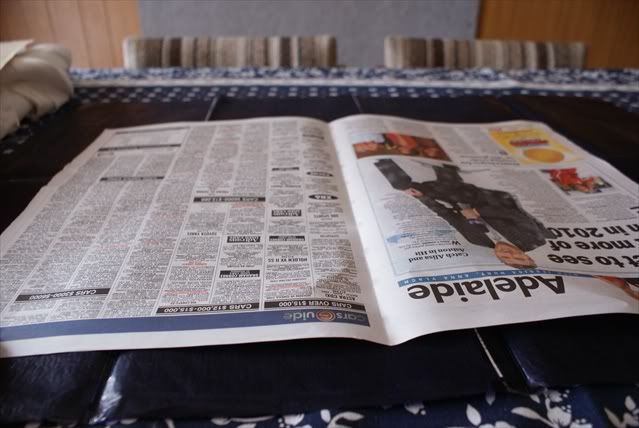
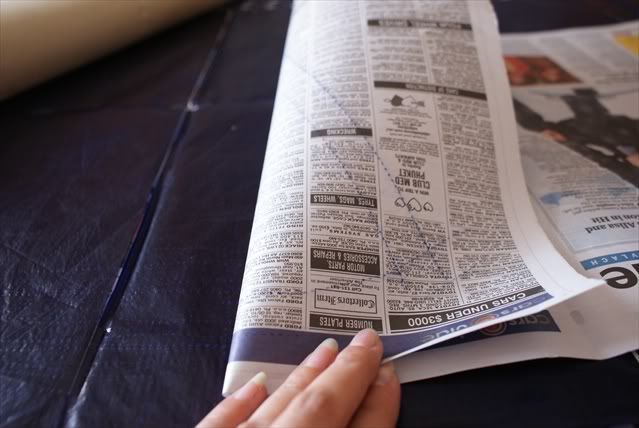
[caption id="" align="alignnone" width="639" caption="My trusty carbon sheets. This is just 8 sheets of A4 carbon paper stuck on a broadsheet newspaper."]
 [/caption]
[caption id="" align="alignnone" width="639" caption="Laid a sheet of newspaper on top"]
 [/caption]
[caption id="" align="alignnone" width="639" caption="Layed the block on top"]
 [/caption]
[caption id="" align="alignnone" width="639" caption="And used my double Clover tracing wheel to trace the seamlines of the godet onto the newspaper"]
 [/caption]
[caption id="" align="alignnone" width="639" caption="Turn the newspaper over-and tada! A perfectly traced godet pattern piece."]
 [/caption]
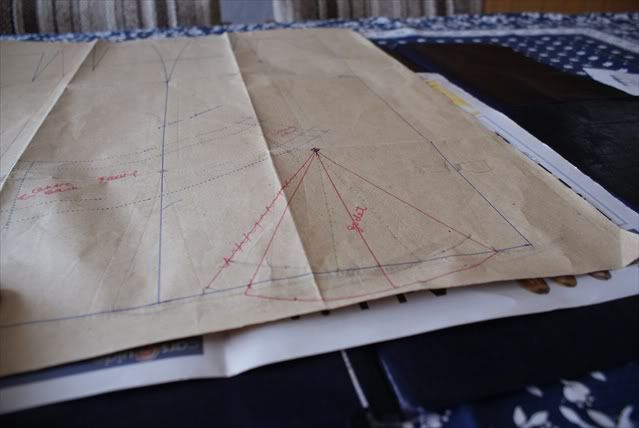
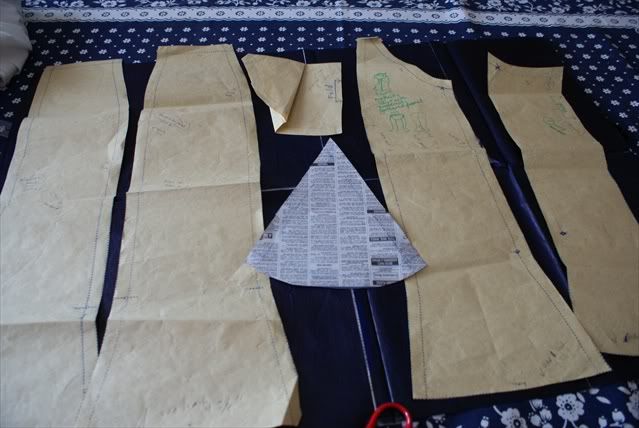
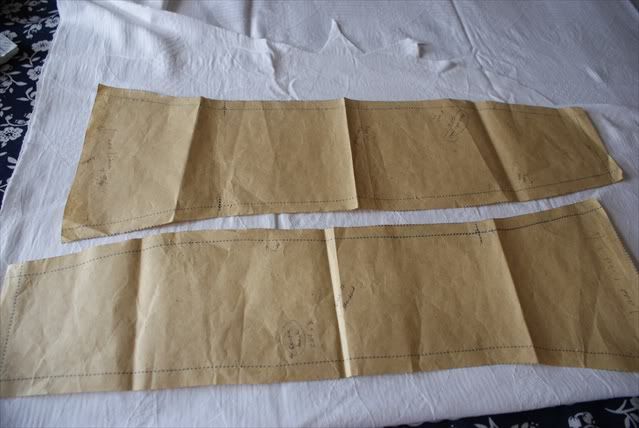
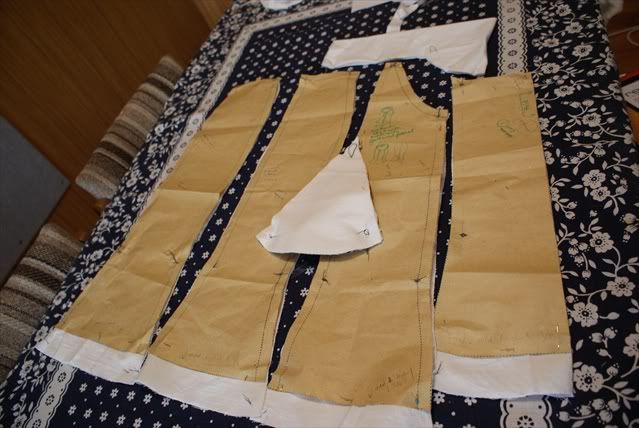
[caption id="" align="alignnone" width="639" caption="These are the pattern pieces i made a few months back for a flared, 7-godet skirt, plus my godet."]
 [/caption]
I wanted my new skirt to be an inch longer though, so I made a note on all my pattern pieces that it be cut an inch longer with 5/8 inch seam allowance.
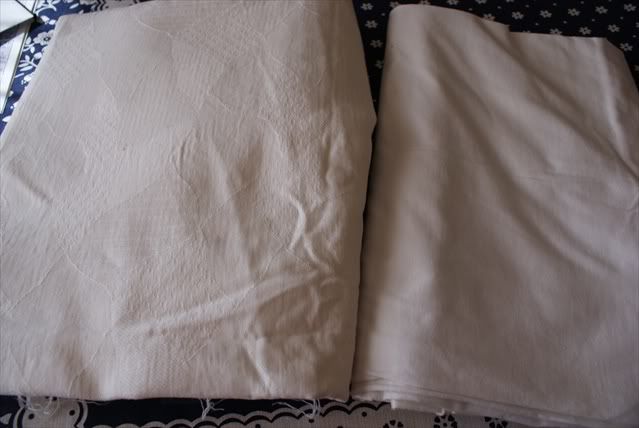
[caption id="" align="alignnone" width="639" caption="These were the materials I used. The white linen jacquard and a white Lycra I bought for AUD1.99 from an opshop at 1.5m."]
 [/caption]
[caption id="" align="alignnone" width="639" caption="I laid out the pattern pieces on the material and pinned and cut."]
 [/caption]
[caption id="" align="alignnone" width="639" caption="Laying out the rest of the pattern pieces"]
 [/caption]
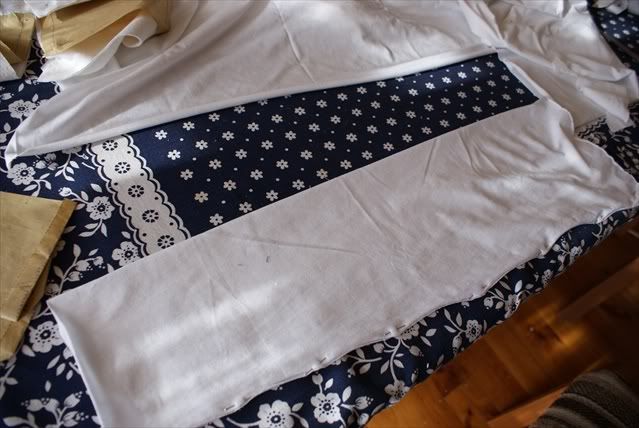
[caption id="" align="alignnone" width="639" caption="This is the Lycra piece I cut for the waistband"]
 [/caption]
[caption id="" align="alignnone" width="639" caption="I wanted it 3 inches wide"]
 [/caption]
[caption id="" align="alignnone" width="639" caption="Here is the maternity waistband all cut out."]
 [/caption]
[caption id="" align="alignnone" width="639" caption="All the pattern pieces cut out."]
 [/caption]
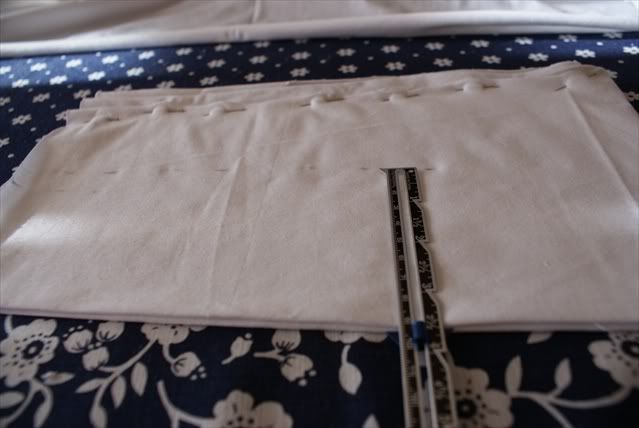
[caption id="" align="alignnone" width="639" caption="I used tailors tacks on all the points where the seams join, especially for the godets, which saved me heaps of time."]
 [/caption]
[caption id="" align="alignnone" width="639" caption="I made sure I marked the centre back, centre front, the right and wrong side of the material."]
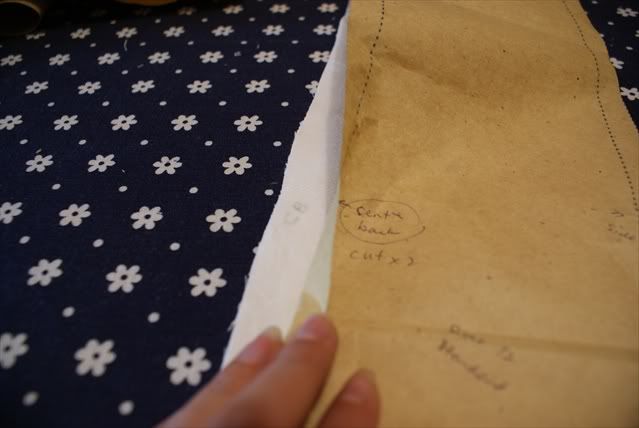 [/caption]
[caption id="" align="alignnone" width="639" caption="Overlocking all the raw edges of the material"]
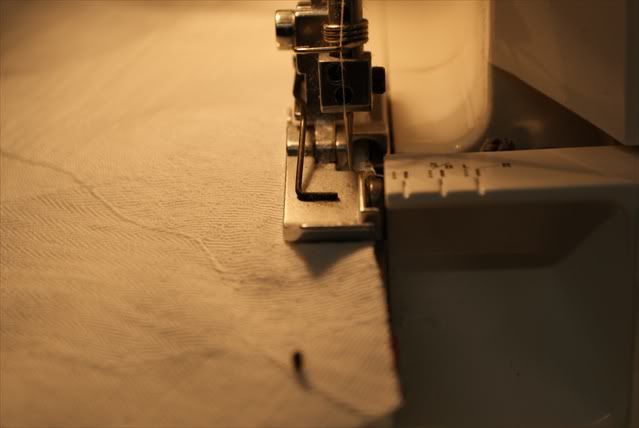 [/caption]
[caption id="" align="alignnone" width="639" caption="Here I overlock the centre back seam of the waistband into a tube and pinned all the edges together."]
 [/caption]
[caption id="" align="alignnone" width="639" caption="And overlocked all the seams"]
 [/caption]
Next, I laid out all the front panel pieces together.
[caption id="" align="alignnone" width="639" caption="Matching tailor's tacks between the gore panels."]
 [/caption]
[caption id="" align="alignnone" width="639" caption="Matching the tailors tacks for the godets and the panels."]
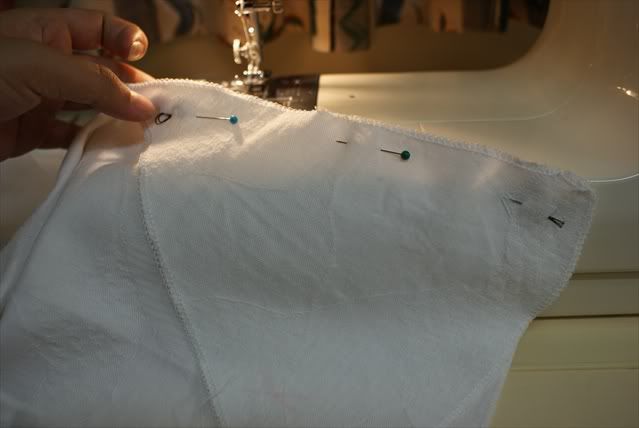 [/caption]
I realised that I had to sew the godet onto one panel first, before joining two gore panels together.
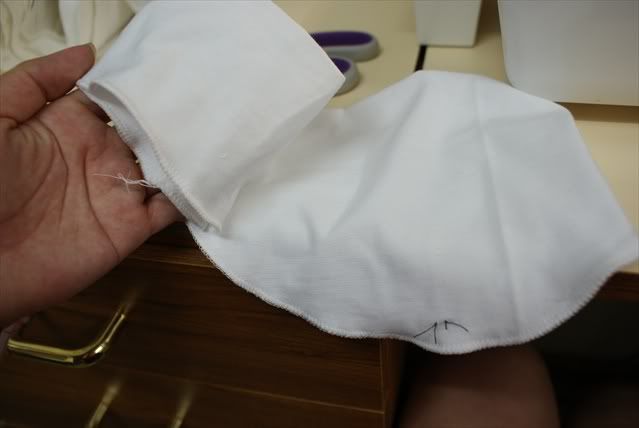
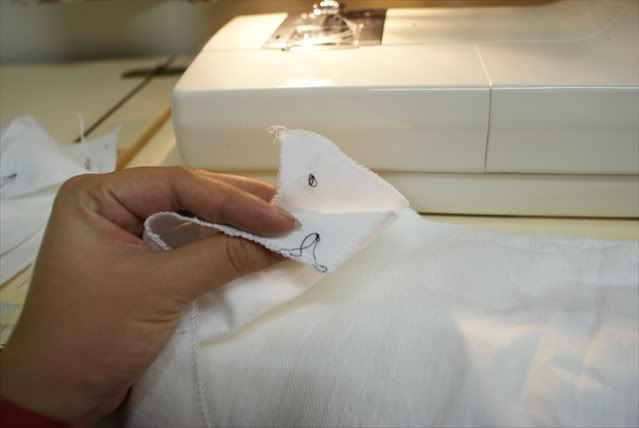
[caption id="" align="alignnone" width="639" caption="That little tailor tack X was very important."]
 [/caption]
I had to make sure to start the stitch at that point on both sides of the gore panels, being careful not to catch the fabric underneath, which would have resulted in a pucker.
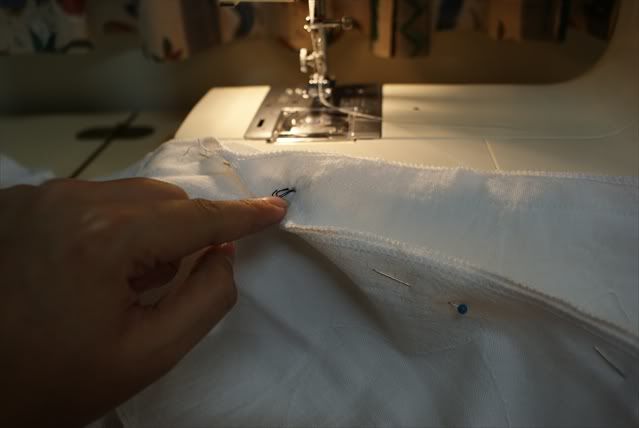
[caption id="" align="alignnone" width="639" caption="Sewing the two gore panels together from the top down to the godet point X."]
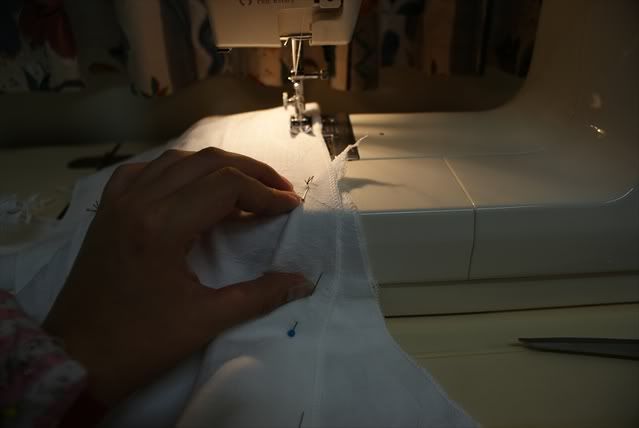 [/caption]
I repeated all the steps for joining the godet and panels for the front.
[caption id="" align="alignnone" width="639" caption="This was what the front looked like."]
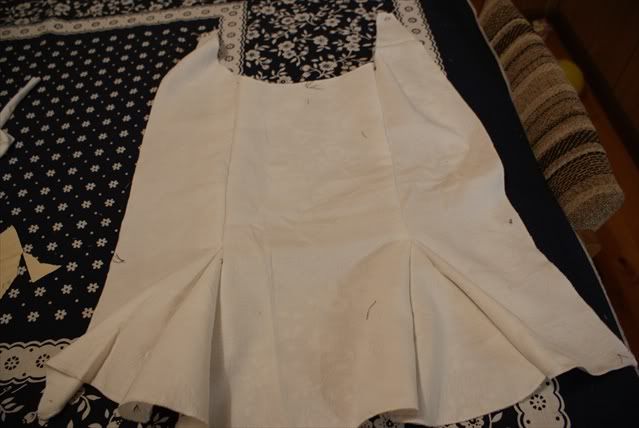 [/caption]
[caption id="" align="alignnone" width="639" caption="And the back"]
 [/caption]
I always make a point of making the front and back panels separately, and then joining the side seams last with a basting stitch to check the fit. At this point, I realise that it was too tight, so I reduced the 5/8 inch seam allowance to 1/4 inch at the sides. But that wasn't enough either, so I had to rip out the stitchs at the centre back seam and resew that at 1/4 inch seam allowance.
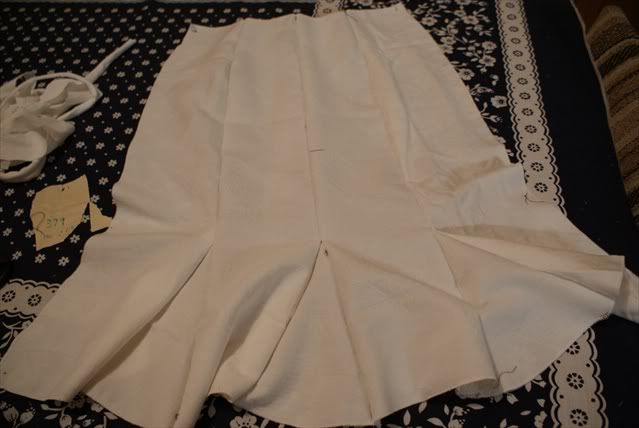
[caption id="" align="alignnone" width="639" caption="This is what the whole skirt looked like after I joined the front and back panels together."]
 [/caption]
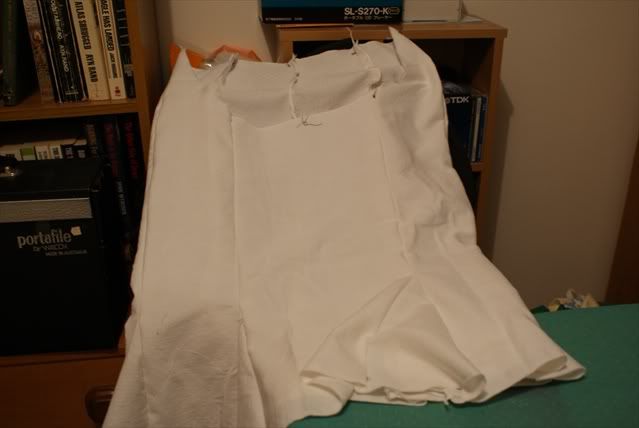
[caption id="" align="alignnone" width="639" caption="Ironing the seams flat. Very important."]
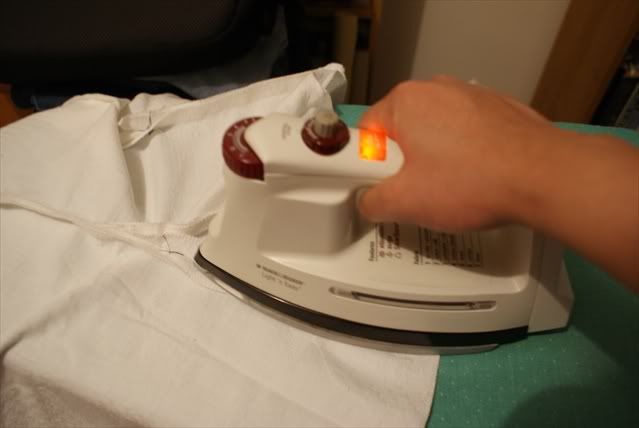 [/caption]
Next, the waistband.
[caption id="" align="alignnone" width="639" caption="Joining the waistband to the skirt"]
 [/caption]
I had marked the centre of the skirt and the waistband with tailors tack, so matching them up was a breeze.
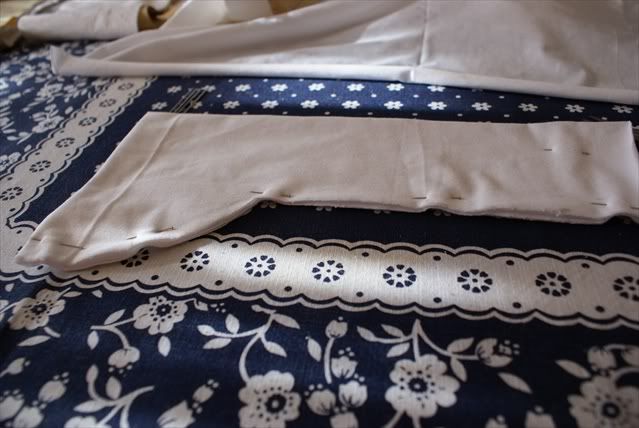
[caption id="" align="alignnone" width="639" caption="I separated the waistband into quarterly intervals, and pinned it to the skirt, stretching the lycra to ease in the skirt fabric."]
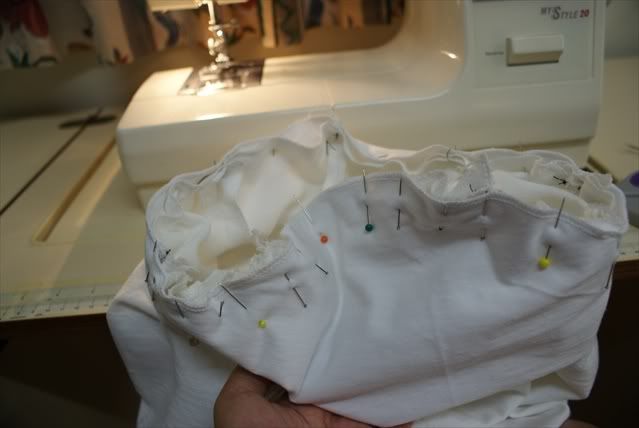 [/caption]
[caption id="" align="alignnone" width="639" caption="Tada!"]
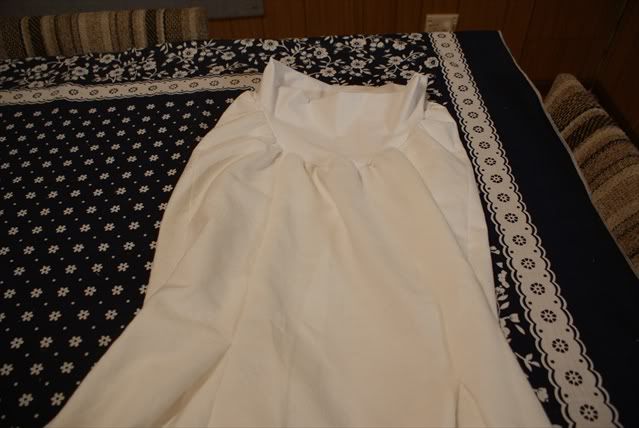 [/caption]
It needs an iron again.
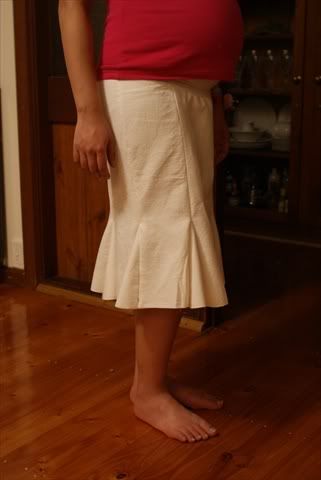
But this is what it looks like on me.
[caption id="" align="alignnone" width="321" caption="Front Side view"]
 [/caption]
[caption id="" align="alignnone" width="321" caption="Back side view"]
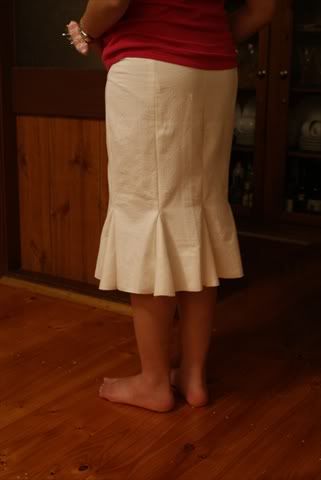 [/caption]
[caption id="" align="alignnone" width="321" caption="Me in my new skirt."]
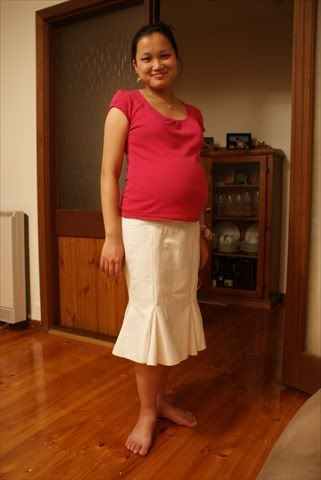 [/caption]
I hemmed the skirt up, but wasn't satisfied with the way it fell stiffly, so I unpicked the blindhem stitching, and will use a rolled hem on my overlocker to finish it.
I love the versatility of a white skirt, and especially a maternity one with an wide stretchy waistband.
No comments:
Post a Comment
I love hearing from you! Please leave your comments here: